Source control management is a key component of any software development environment. Even if a single person is developing code or automation, not using an SCM is really bad practice. SCM's provide a host of benefits by tracking all the changes that you would be making while creating automation. Over the years GIT has become the de-facto standard methods used for SCM.
GIT is distributed SCM, that was developed by Linus Torvalds as a way to deal with the source code of the linux kernel. The history is that after concerns from BitKeeper and the linux community, BitKeeper revoked the free license. Probably the biggest mistake they could have made. Linus then developed what we know today as GIT, which he named after himself ( Git means "unpleasant person" in British English).
What made GIT popular where it's origin as open-source and also how it managed to track changes. Instead of tracking changes of files, GIT thinks of everything in a mode of snapshots. When a person commits changes, GIT takes a "snapshot" of all the files at the moment and stores that snapshot.
Another very critical aspect to understand from GIT is how it is a distributed system. This means that GIT doesn't need to "probe" a server, as the local representation of the database contains the information it needs.
What we want to show you for this lab is the very basics of GIT operations. While GIT is very easy to use with just a single person, when various engineers are working together on the same code base it can get complicated in managing all that change.
With that in mind you will be operating like a single person that owns their repository and we will show you how to commit changes into a repository with some basic branch structure that will allow us manage a Dev/Ops pipeline. For more detailed GIT operations, a separate course would be appropriate between the team members working in a collaborative way. The following is a list of courses available on developer.cisco.com.
You can reference these at another time, keep focus on the lab.
cd ~/ltrdcn-3225/ansible
This is an important step to remember as this defines the topmost directory that we want to track in the repository
To properly interact with GIT you first need to setup the local GIT configuration for your username and some additional parameters we need.
git config --global user.name "studentpod04"
git config --global user.email studentpod04@ltrdcn3225.com
The newer GIT servers like GitHub and GitLab now utilize the terminology of
main instead of master. In some circumstances you might want
to setup main as your default branch. Since we are going to be creating
an automated pipeline then it makes sense for us to utilize a separate default branch.
Different organizations take different approaches, so for this lab we are
going to default into develop branch leaving the main
branch dedicated just for the automation pipeline execution.
git config --global init.defaultBranch develop
The first step is creating a GIT repository. This is done by using the git init command.
The git init command creates a new subdirectory named .git that contains all of your
necessary repository files — a Git repository skeleton. At this point, nothing in your project is tracked yet.
git init -b develop
Which should tell you that it has initialized an empty repository in the directory.
Once the repo has initialized you will need to add the files into the repository that we want to track.
This is done by using the git add command. The git add command adds a change in the
working directory to the staging area.
git add .
Use the git status command to get a list of all the files that have been added to the staging area.
git status
On branch develop

No commits yet

Changes to be committed:
    (use "git rm --cached ..." to unstage)
        new file:   .python-version
        new file:   playbooks/aci/ansible.cfg
        new file:   playbooks/aci/group_vars/all.yml
        new file:   playbooks/aci/host_vars/apic.yml
        new file:   playbooks/aci/hosts.yml
        new file:   playbooks/aci/roles/apic/README.md
        new file:   playbooks/aci/roles/apic/defaults/main.yml
        new file:   playbooks/aci/roles/apic/handlers/main.yml
        new file:   playbooks/aci/roles/apic/meta/main.yml
        new file:   playbooks/aci/roles/apic/tasks/main.yml
        new file:   playbooks/aci/roles/apic/tests/inventory
        new file:   playbooks/aci/roles/apic/tests/test.yml
        new file:   playbooks/aci/roles/apic/vars/main.yml
        new file:   playbooks/aci/site.yml
In the previous step we added the files into the repository but we have not yet committed them. The
git commit command commits the staged snapshot to the project history. Committed snapshots can be
thought of as “safe” versions of a project that Git will never change them unless you explicitly ask it to.
git commit -a -m "Commit first files into lab repository"
As was mentioned before, GIT is built on a distributed architecture. When you did the command
git init before you initialized a GIT repository. This is a standalone source control
manager and can exist on it's own. If you wanted to have a way to version control local files on your
computer you could use GIT just as has been shown here and it would work perfectly.
The advantage of GIT though is also to handle distributed code amongst a group of people that are collaborating together. For this reason people collaborating together utilize a centralized location to keep track of all the changes. You may have used one such location, github.com.
Once you have pushed your repository to such a location, multiple users of the repository can collaborate amongst each others with the GIT software managing how the different changes are merged together. Users are granted priviledges to the code in various ways and also the users are given specific access rights to grant them different abilities with managing the repository.
But wait, we are network operators? Why do I care about this. Imagine for a second a different way to view how your network devices are configured. Think that instead of thinking that the source of truth is in the device itself, the source of truth lives inside a source control manager like GIT. Now you have the advantage of:
The advantages are numerous and for anyone that has run through 20 page MOP to configure a device that remember when the new operator made a slight mistake while entering the changes that brought down the network and this start looking like a fine alternative.
Without a doubt there could be a lab dedicated just to show you some of the tricks of GIT, so we will have to just graze over the concepts here. At Cisco Live DevNet there are various sessions you might want to check out dedicated to GIT. For now what you will be doing is connecting your local GIT repository with a remote server GitLab so enable some fun DevOps stuff.
With the repository created, you will now connect to our internal lab GITLAB server. To facilitate and accelerate this process, we have already created user accounts, the project that you will be pushing into and we also pre-configured the SSH key-chain pairs to create a secure connection between this local GIT repository and the remote server.
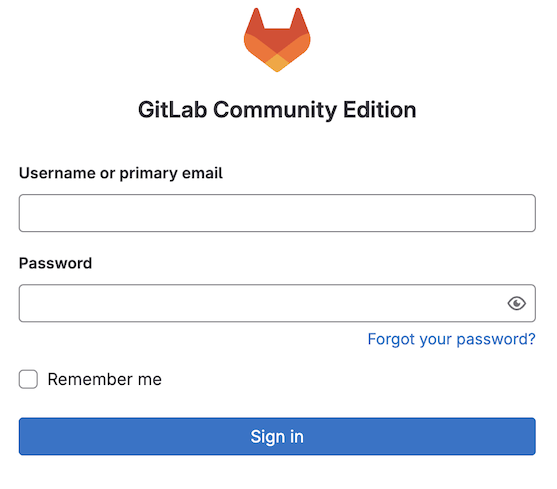
After the Login window you should land on this page:
If you click on the the button that says Code the server is going to present you with
the following options.
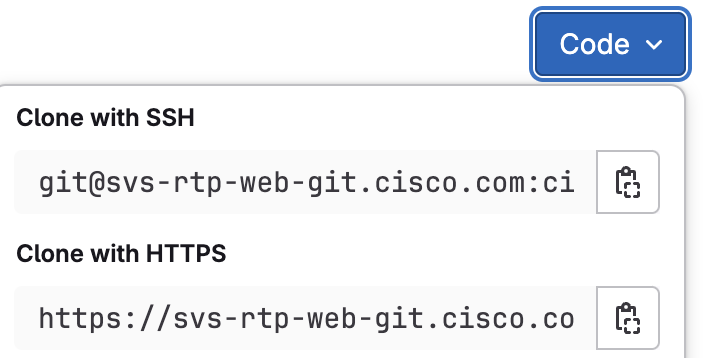
These are the URI locators for the repository on the server. Each GIT repository can be accessed via one of these. You may have in the past pulled a GIT repo via the HTTPS method that is the most common method when you don't plan to make changes ( just to use the code ).
In our case, this is going to be your repository that you will be working with. The best option when working with your repository is to utilize SSH tunnels. To accomplish this method you have to load the public SSH key into the GIT server. For all the GIT servers out there like GitHub and GitLab, this is an option that you configure in your user profile. For this lab we have taken the steps to automate this process for you.
Now we can connect the local repository to the remote server. Since we also already initialized the repository
on the server all that is left is to configure the local repository that we created to
point to the one in the GitLab server. To do this all we have to do is take the URI for SSH that
we showed above and tell git that it is the remote destination. To complete this
task you will utilize git remote add command.
git remote add origin git@svs-rtp-web-git.cisco.com:ciscolive/dcn3225_pod04.git
With the remote configured, we can now push the changes to the remote server.
The git push command is used to upload local repository content to a remote repository. Pushing is
how you transfer commits from your local repository to a remote repo. THe first step is to tell git
what our upstream destination is.
git push --set-upstream origin develop
When you do this command you might get a SSH key warning as you are connecting to a new server. Just type yes to continue.
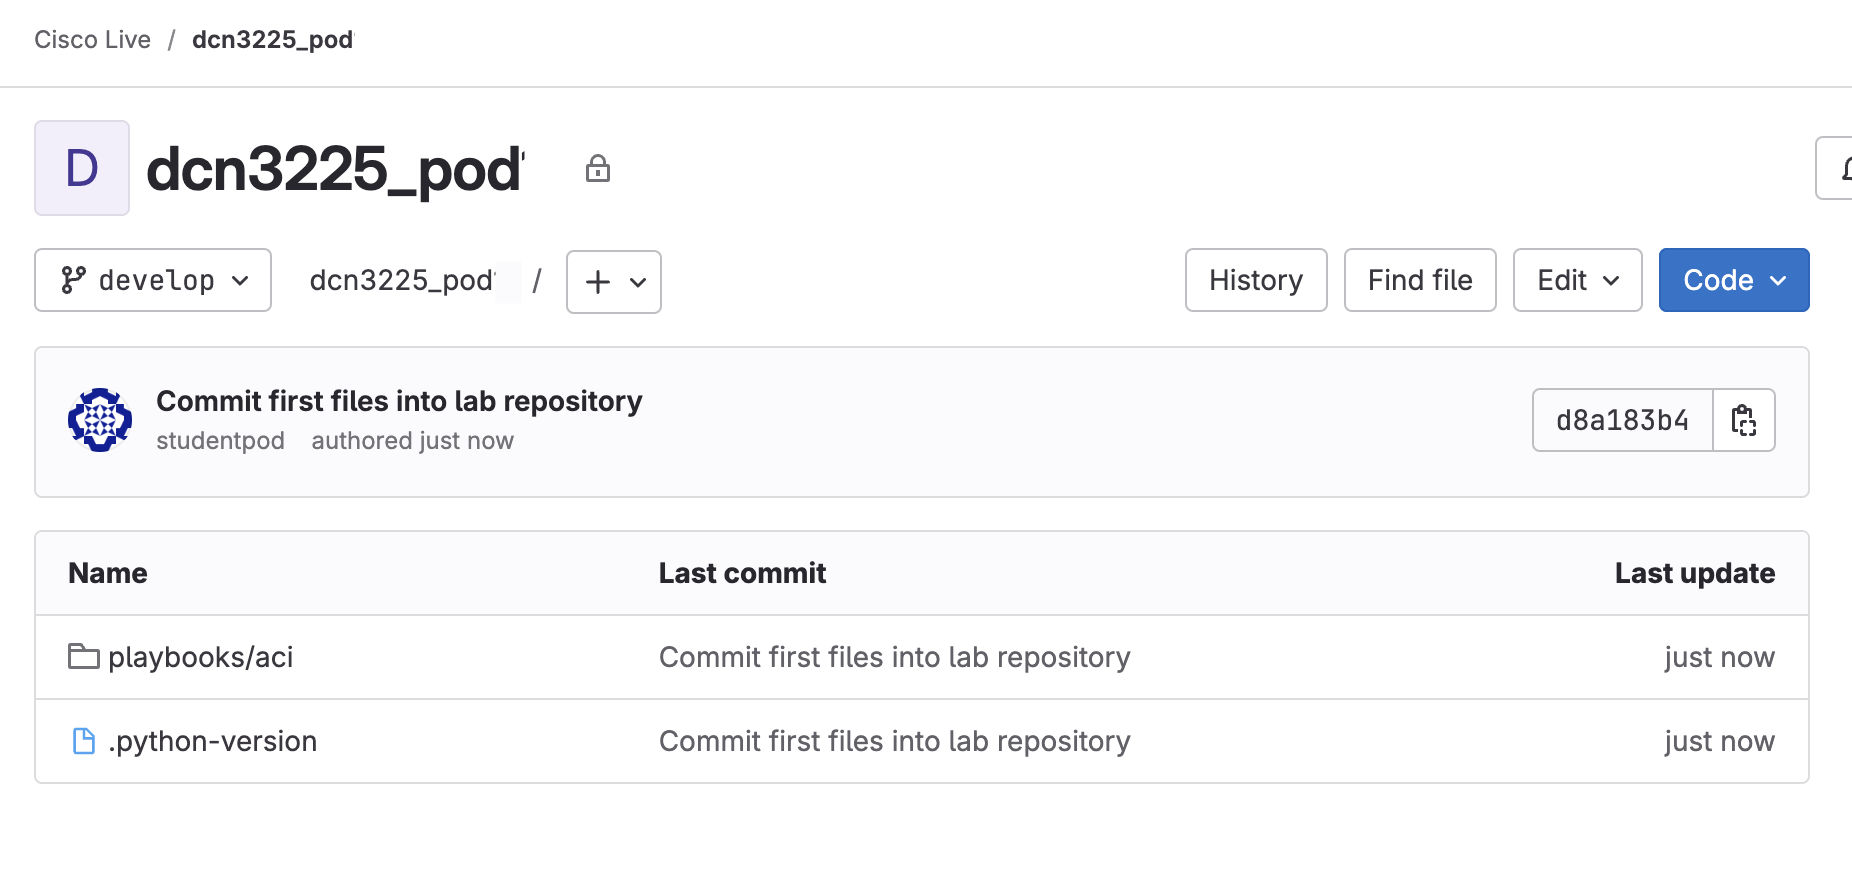
Now that you have pushed your code into the remote server, you can view the files via the GitLab interface on the server. Reload the browser window to see the changes.